Practical guides for every stage of a roofing job.
Learn what each workspace is for, who should use it, what must be completed and what result to expect. Screens below use the fictional demo company.
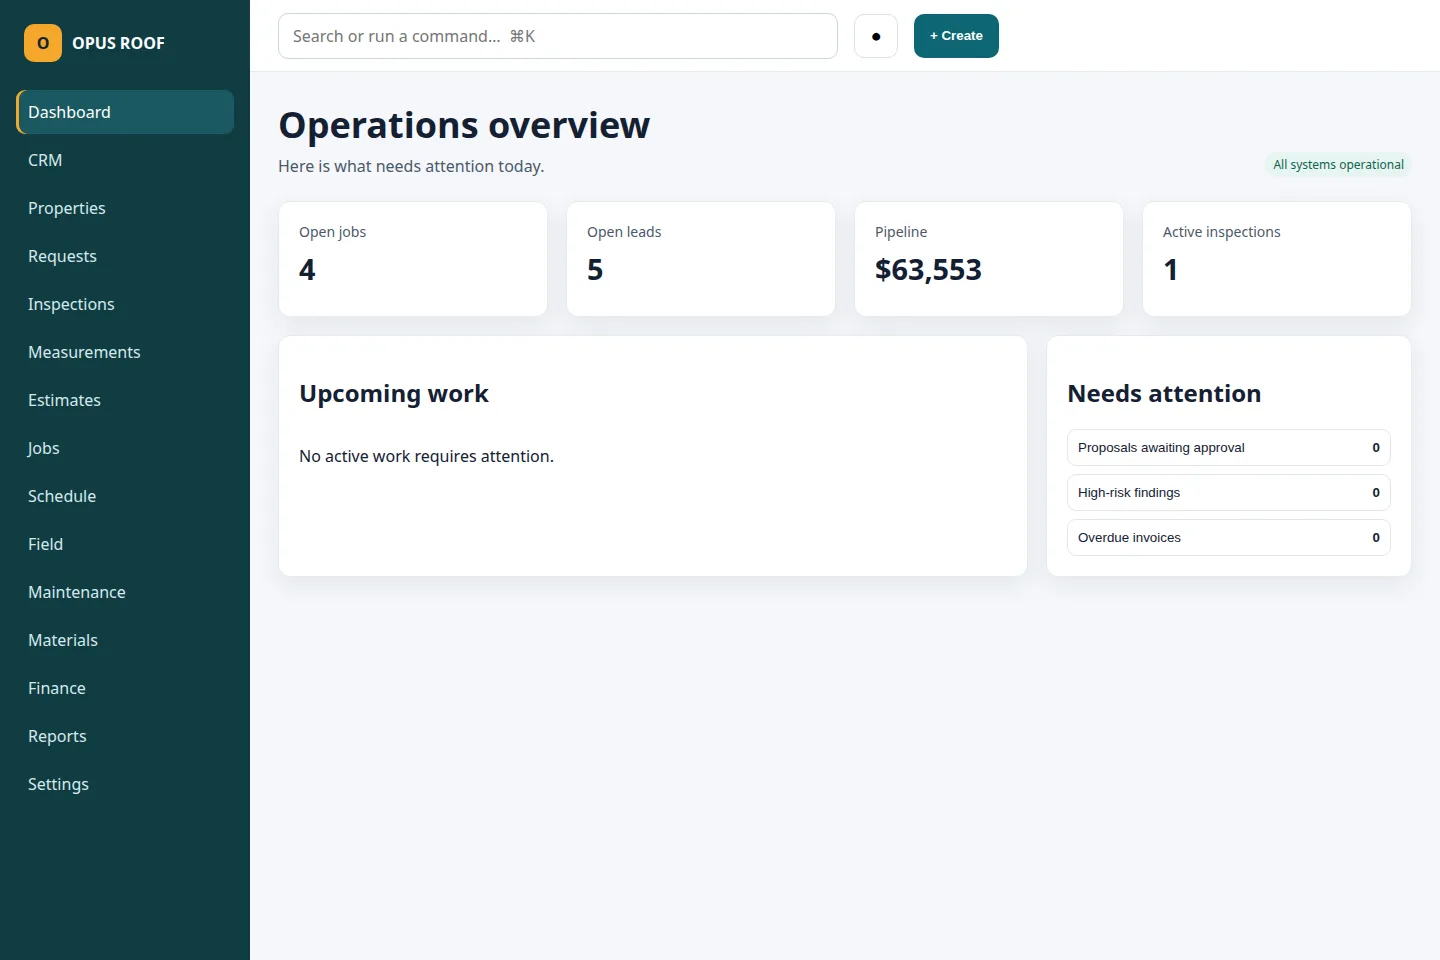
Start on the dashboard to identify sales, production and financial items needing attention.
Choose a guide by responsibility
Company owners and managers configure the organization and monitor the roofing operation. Sales and production staff work inside the company tenant. Crews use Field for assigned work. Customers use the separate portal. Affiliates sell the SaaS and never access contractor data.
Getting started
Configure the company, invite the team and understand access boundaries.
Open Settings and select Invite teammate. Enter the work email and choose the role matching the person’s job.
Send the secure acceptance link. The person becomes available for a crew after accepting the invitation.
Open Schedule, select Create crew, name the team and choose its active field members.
Open Jobs, choose a job with an accepted estimate, create a work order and select the crew, dates and required tasks. Overlapping work is blocked.
Use Schedule for dispatch and use qualifications, labor rates and timesheet review to manage compliance and cost.
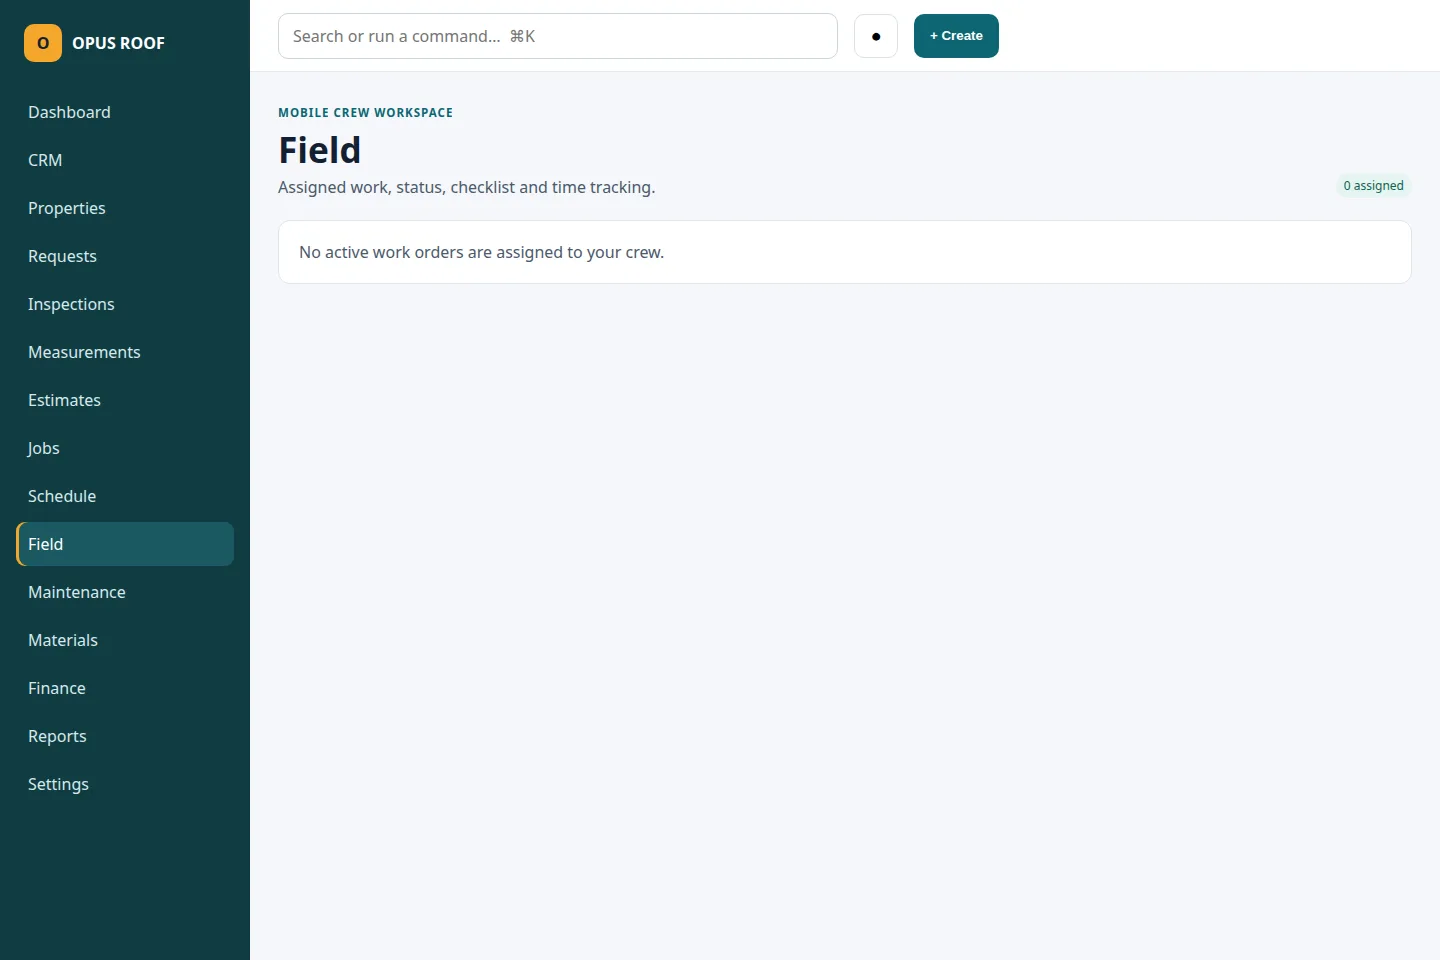
Crew members use Field for assigned work, status, tasks, time, photos, logs, punch items and final QA.
Access boundary: the WordPress administrator manages the SaaS platform and affiliates. Each roofing-company owner manages only their own users, crews and work.
Owner · 10–20 minutes
Set up a roofing company workspace
Goal: create the isolated organization where company staff and operational records will live.
Create the owner account and complete company onboarding.
Set legal/business name, timezone, currency, tax defaults, working days and office details.
Invite staff with the least-privilege role matching their actual job.
Configure measurement, email, payment and webhook providers in sandbox before production.
Confirm that company owners enter App, crews enter Field, and customers enter Portal.
Sales workflow
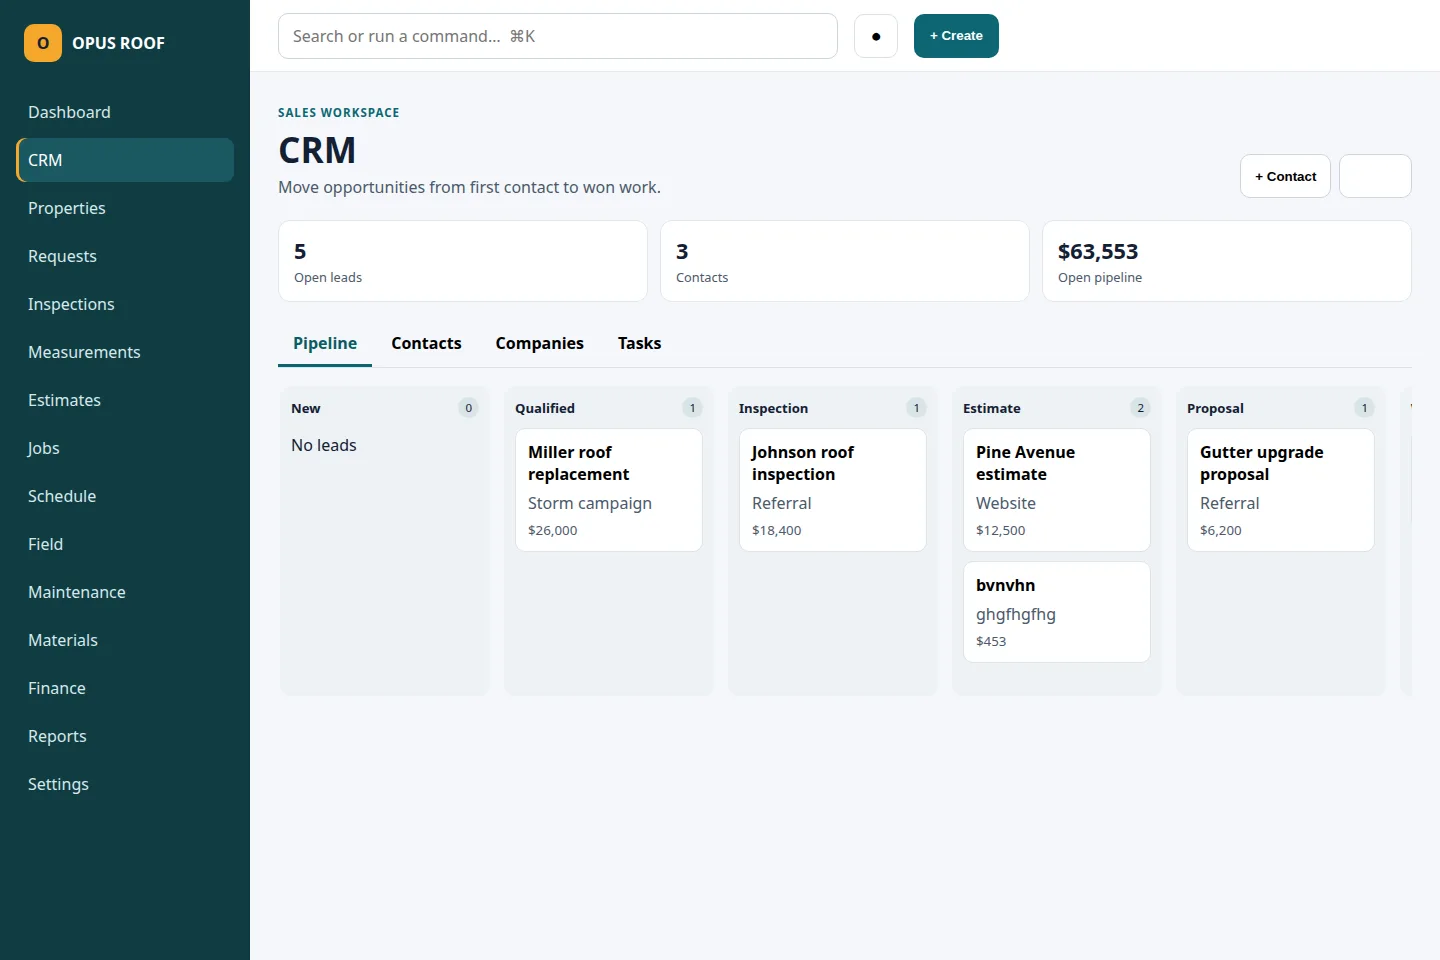
Turn a roofing prospect into an active job
Create or locate the contact to avoid duplicates.
Record communication preference and explicit email/SMS consent.
Add the service property, access notes, buildings and known roof assets.
Create the lead with value, stage, source, assignee and next task.
Log calls, inspections and follow-ups on the timeline.
When the opportunity is won and the property is confirmed, convert it to a job.
Expected result: the new job retains its connection to the contact, property and sales history.
Owner, inspector and estimator
Measure a roof from a georeferenced aerial image
As the company owner, open Settings → Aerial measurement providers.
Enable Google, Mapbox or another available private provider, enter your own key and set priority. You may enable several.
Keep OpenStreetMap Nominatim and Esri World Imagery active as no-key public fallbacks if desired.
Open Measurements and select Measure from address.
Select the property, enter its complete U.S. address and choose Locate roof and open aerial image.
Click each roof corner in order. The polygon closes automatically and the editor converts its georeferenced pixel area to projected square feet.
Enter the plane’s pitch, add remaining facets and mark eaves, rakes, ridges, hips and valleys.
Review projected area, sloped area, squares and waste, then save for human review. Approve only after checking imagery, scale and site conditions.
Production and crew
Use Schedule and Field correctly
A manager confirms permits, materials, qualifications and dependencies.
Create the work order, required checklist and crew assignment.
The assigned crew opens Field, starts travel, arrives onsite and clocks in.
Complete tasks; add photos, daily logs and incident reports as work progresses.
Create and resolve punch items, then record final QA.
Clock out and complete the work order. The system blocks premature closeout.
If Field is empty: the current user is not a member of the crew assigned to an active work order. This is an access rule, not missing company data.
Finance and customer experience
Invoice, collect and communicate
Invoice only accepted proposal scope, using deposit, progress or final billing.
Send the tokenized invoice or expose it through the authenticated customer portal.
Let the configured gateway collect payment and verify signed webhook events.
Reconcile payment and refund records; never treat a browser redirect as proof of payment.
Use reports for aging, job economics, committed costs and productivity.
Independent SaaS seller
Refer and support Opus Roof subscribers
Log in to the Affiliate Workspace and copy the complete referral URL.
Share it with roofing-company prospects—not homeowners served by contractors.
The opaque hash attributes landing-page leads and signup conversions.
When the prospect creates its organization, the SaaS subscription remains attributed to the affiliate.
Track reconciled commissions and projections separately from payable balance.
Add only the PayPal payout destination requested by the platform; never share PayPal credentials.
Affiliates cannot access the subscriber’s CRM, jobs, customers, properties or documents.